How to Plan a Hot Lunch at Work Without a Microwave

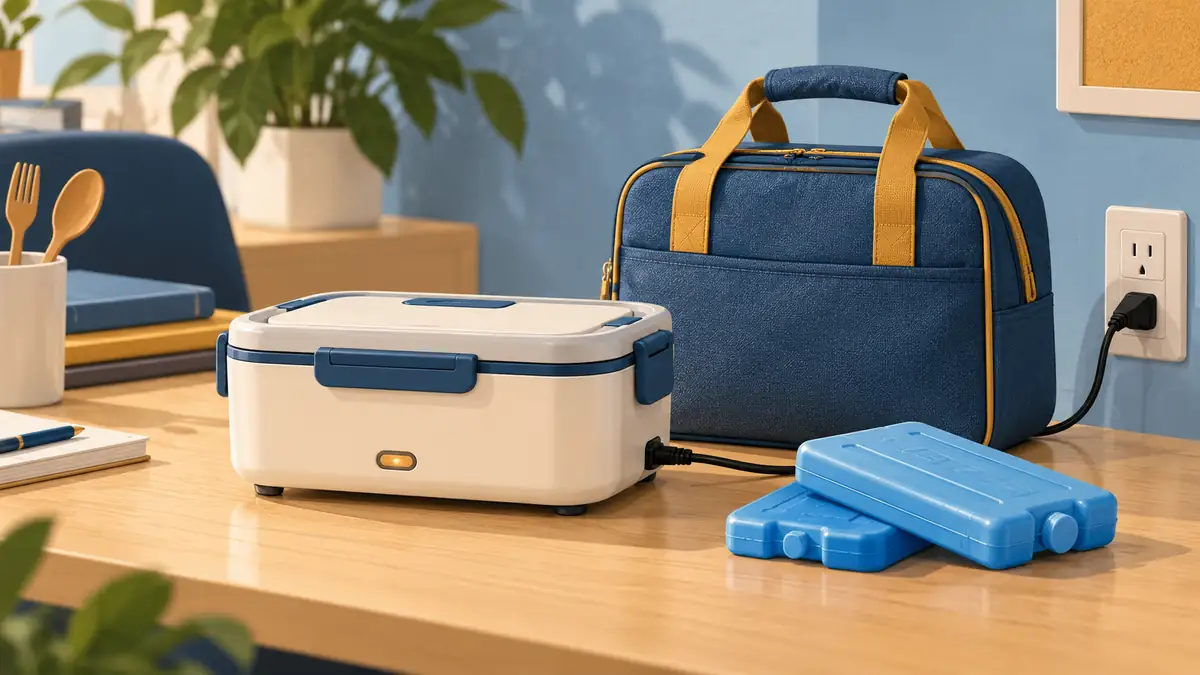
A hot lunch at work without a microwave needs a plan for storage, a suitable heating or insulated-food system, and enough time before the meal. Decide what is available during the shift first: a refrigerator, an approved outlet, a predictable break, or none of those. Then choose equipment around that routine.
If the workplace provides a suitable outlet, compare electric food warmers for work by container size, supplied power connections, and cleaning layout. Portability alone does not tell you whether a unit heats from a battery or needs to stay plugged in.
Start With the Workday, Not the Appliance
Write down when you leave home, when lunch is likely to happen, and where the food will be kept in between. A predictable office break and a moving construction schedule can call for different arrangements even when the meal is identical.
Also check the workplace’s rules for personal appliances. A desk outlet, a vehicle outlet, and a shared break-room circuit are not interchangeable. Decide where the unit can stand while heating without blocking a walkway, crowding other equipment, or exposing it to water.
| Your setup | A practical direction | What to confirm |
|---|---|---|
| Refrigerator and a permitted outlet | Store the meal cold, then heat it using an appliance intended for that task. | Heating schedule, container compatibility, and access to the outlet. |
| No refrigerator, but suitable power | Use an appropriate cold-storage arrangement before heating. | Whether the meal stays cold until the heating stage begins. |
| No usable outlet at lunch | Consider a suitable battery-heated system or a properly packed insulated food jar. | Charging requirements or the jar’s performance with your meal and schedule. |
| Mobile or outdoor jobsite | Plan carrying, storage, and a sheltered permitted use location together. | Power availability, stable placement, dust, water, and the actual break window. |
Keep the Meal Cold Until It Is Time to Heat
If the meal is meant to travel chilled and be reheated, keep it refrigerated or use a suitable insulated bag with cold sources. USDA recommends at least two cold sources for a perishable bag lunch when refrigeration is unavailable. An unpowered lunch warmer is not a refrigerator.
Pack the meal in a food container approved for the way it will be stored and heated. Check the removable tray’s instructions separately from those for the electrical base. Do not assume the whole appliance can go in a refrigerator, dishwasher, or sink.
Taking food hot from home is a different approach. It requires a container and routine that maintain the food at an appropriate hot-holding temperature through lunch. Do not combine the two plans by leaving a chilled meal in a bag all morning and calling the result warm holding.
Match the Warmer to the Worksite
At an Office Desk or Shared Break Area
Check the footprint with the cord connected and the lid open, not just the dimensions of the closed box. Leave room to lift out the food container and put the hot lid down safely.
For that setting, compare food warmers for office lunches with the actual space and outlet arrangement in mind. A larger model is not automatically more convenient when only one portion needs heating.
On a Construction Site
Plan a clean, stable place for the appliance and a way to carry it without spills. Check the equipment’s permitted use environment rather than assuming a rugged-looking shell is weatherproof.
Our comparison of food warmers for construction workers focuses the choice on a mobile workday. Verify the supplied power connection against the source that will actually be available during your break.
Build the Heating Window Around the Meal
Use the manufacturer’s guidance for the exact appliance and food as a starting point. A deeper portion, a colder starting temperature, and food that cannot be stirred can change the heating process. A timer or an illuminated power light does not measure the center of the meal.
For reheated household leftovers, USDA recommends checking for an internal temperature of 165°F. Use equipment documented for reheating, follow its instructions, and check the food. If it cannot heat the meal appropriately within your available break, change the meal plan or use another suitable method.
The guide to planning an electric lunch box heating window covers the variables behind timing. Allow room in the schedule for checking the meal rather than assuming every appliance works like a microwave.
Choose Portion Size and Container Layout Together
A large stated capacity can be less useful than a smaller container that fits your regular lunch well. Check which compartments receive heat. Some side containers are intended for cold foods and are not heated just because they sit inside the same outer case.
If counter and bag space are limited, compare small food warmer options by their intended job. That group includes different formats, so keep personal lunch equipment separate from small buffet-serving equipment when narrowing the choice.
For a clearer explanation of contact heating, steam-based designs, and model-specific power sources, see how electric lunch boxes work. Use those distinctions when reading the product’s container and water instructions.
Make Cleanup Part of the Routine
Pack a utensil and a suitable way to carry used food containers home. Disconnect the appliance and let it cool as directed before handling or cleaning its electrical parts. Wash removable food-contact pieces by the method permitted for them.
Before the next shift, check the lid seal, cord, plug, and food tray. A work-lunch system is easier to keep using when it fits the whole day: cold storage, heating, eating, and cleanup.

- Graham
Keeping food warm isn't always as simple as it sounds. From family dinners to large catered events, different settings call for different equipment. Graham Ellis approaches these choices with an eye for the details that matter, including temperature control, serving capacity, ease of cleaning, and overall convenience. His contributions to Best Food Warmers aim to make the buying process less confusing and help readers find solutions that fit the way they serve food.
- Best Soup Warmers: 9 Picks in 2027 October 19, 2026
- Best Infrared Food Warmers: 9 Picks in 2026 October 18, 2026
- Heat Lamp vs. Heat Strip: Which Is Better for Food Warming? October 17, 2026
- Best Heat Lamps for Food: 9 Picks in 2026 October 16, 2026
- Best Commercial Heated Holding Carts: 9 Picks in 2026 October 15, 2026